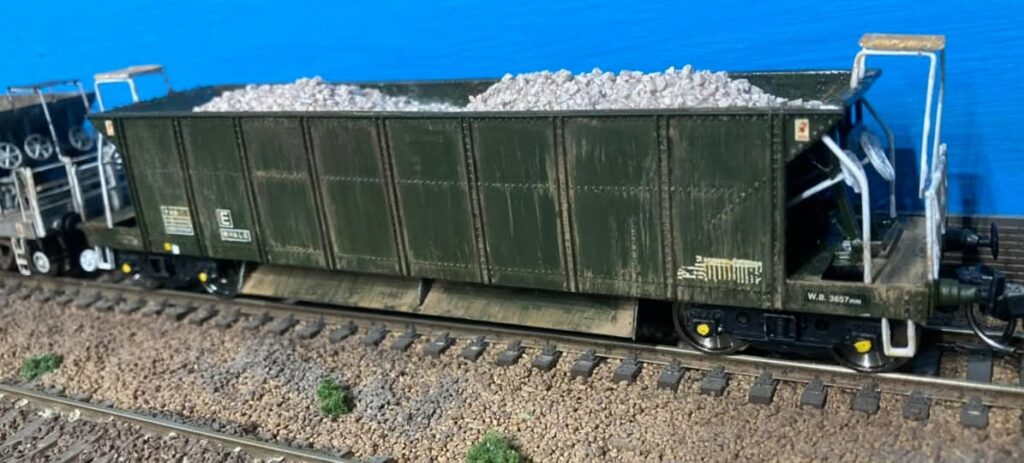
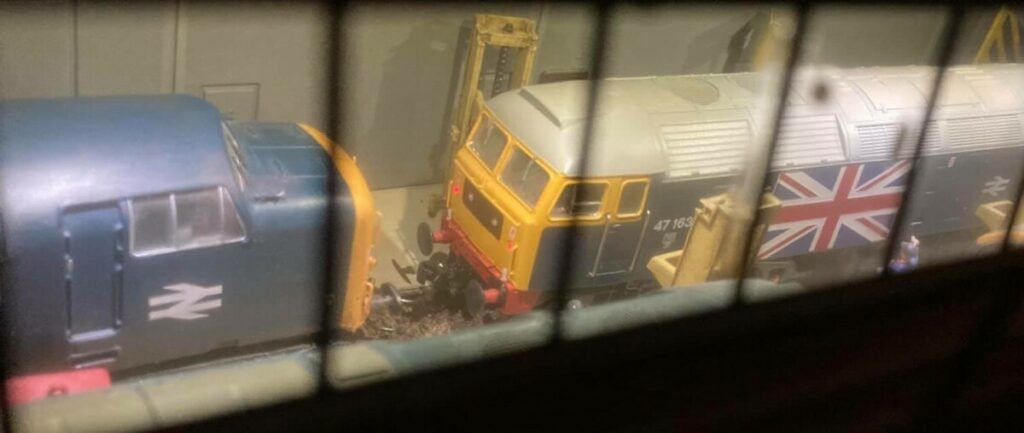
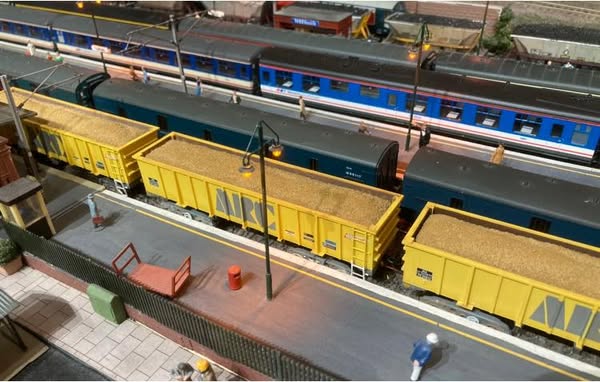
Categories
Model Railway Blog

Bearham Signal Box Interior

The signal box at Bearham is a very old Hornby R503 one from the time of my first train set which was a gift from my grandparents so it has been retained from layout to layout as it has sentimental value. However the inside was a mess from an attempt to fit lighting when I was very much younger. At Warley 2019 Sarah got me a Severn Models signal box interior kit. I’ve fitted this into the signal box on a new false floor to cover where the unrealistic moulded interior was cut away. I also fitted a new false rear wall made of card to hide the moulded block that represented the levers. LED lighting has been fitted into the roof so that the interior can be glimpsed through the windows. The levers have been painted to represent a reasonable selection of red (for signals), black (for points), blue (for facing point locks) and white (unused) that would work with the track plan.

Categories
Model Railway Blog

Tedford After Dark

A few photos of Tedford after dark

Categories
Model Railway Blog

Accurascale JIA/JUA Wagons

When I received my new Accurascale JIA/JUA wagons in ARC mustard yellow livery I was at first a little disappointed by their ‘yellowness’ that made them look a bit toy-like. However with dolofines loads fitted (go look on eBay, they are very good) and some very subtle weathering with MIG powders they look much much better. I think the main improvement was a fairly dense ‘wash’ on the visible part of the insides with a wet mix of MIG mud and light dirt powders. If you look at photos of the prototypes the insides are always rusty and dusty. Sorting this out and adding the load immediately overcomes the problem with the yellow appearing too light. In traffic in the 80s the outsides and bogies seem generally to have been kept fairly clean.

Categories
Model Railway Blog

Fitting Kadee couplings to Hornby HST power cars

The highly detailed Hornby HST power cars have a NEM pocket but it is fitted far too low to use with regular push-fit Kadee couplings. To get around this take the supplied tension lock coupling which has the necessary height offset built in and ‘cut and shut’ this with the working part of a Kadee NEM coupler. Once the spacing is worked out it is possible to join the two plastic parts using a soldering iron to carefully ‘weld’ them together. The cut off tail from the Kadee can be used to melt in some additional re-inforcing plastic to keep the coupling at the correct height. Once done this will easily permit pulling or pushing of a full length HST set.

Categories
Model Railway Blog

Adding Kadee couplings to Lima Mk3 coaches

It’s very simple to convert Lima Mk3 coaches to use Kadee couplings. Just cut off the huge tension lock leaving a tongue of plastic and glue a Kadee number 20 coupling onto the top of this using Evostik Impact adhesive. Adjust the length of tongue and the positioning of the Kadee so that the coupling knuckle is correctly just proud of the corridor connection.

A similar approach can be used with Hornby (ex Lima) Mk3 coaches but the number 20 is glued into the existing pocket with its tail suitably shortened.

Once the glue sets this arrangement will easily take the load of a full length train being pushed or pulled and will navigate second radius curves.